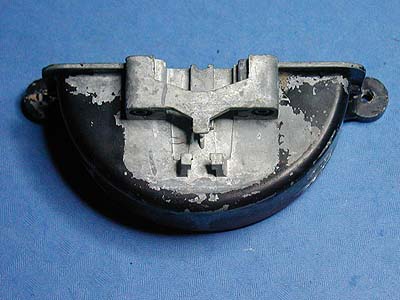
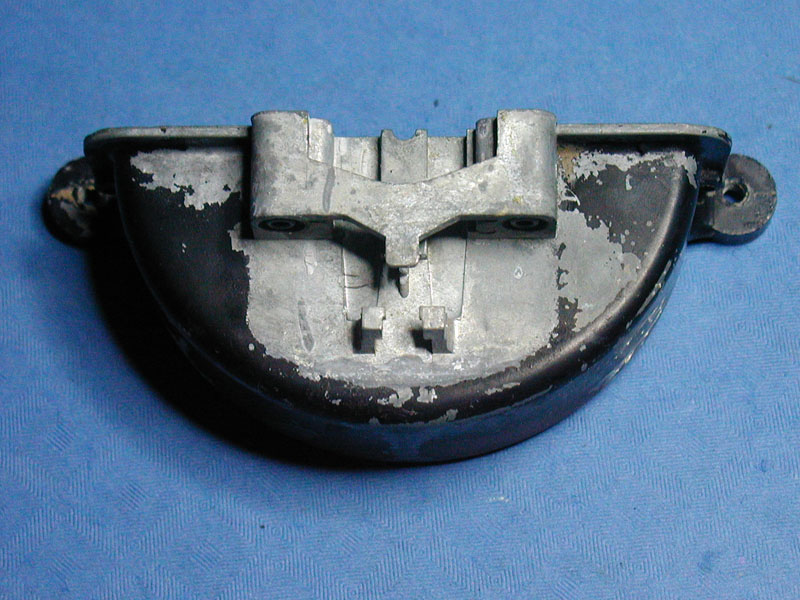
(thumbnails all link to enlarged images)
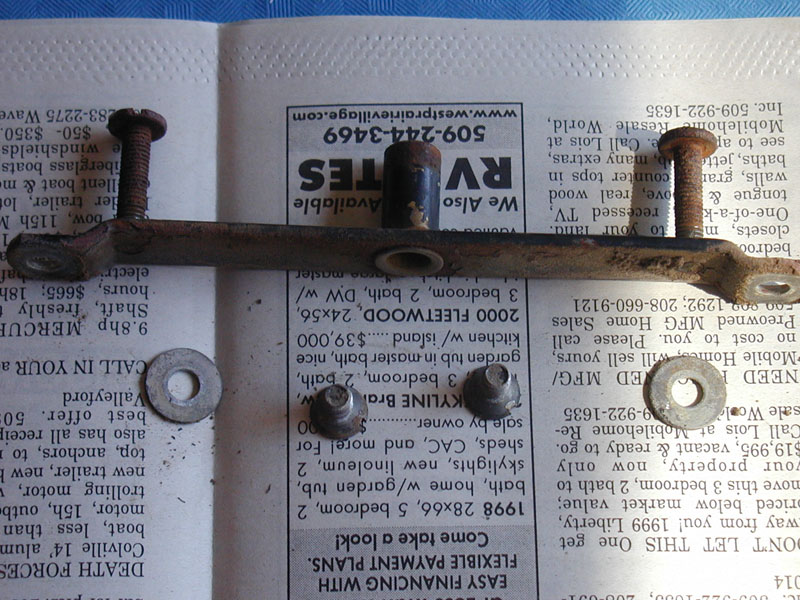
Remove the frame mounting bracket.
The 2 outermost flat-head screws.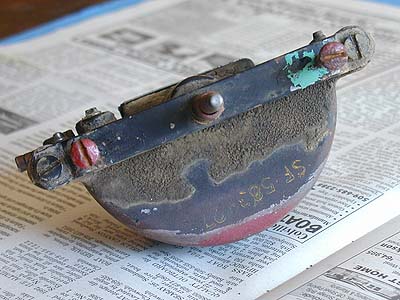
The 2 outermost flat-head screws.

Don't lose the spacer washers between bracket & motor body!
They must be there for a reason.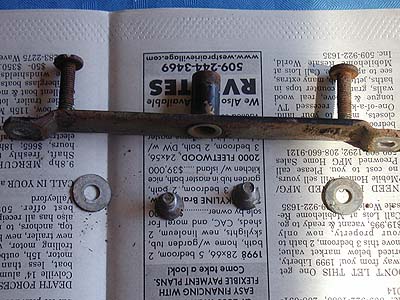
They must be there for a reason.
Remove the felt seal & flat washer from the shaft.
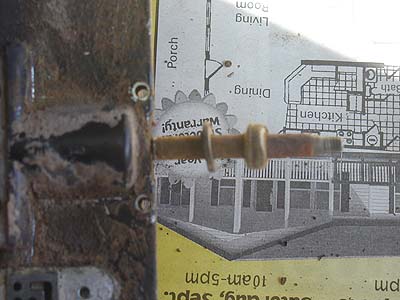
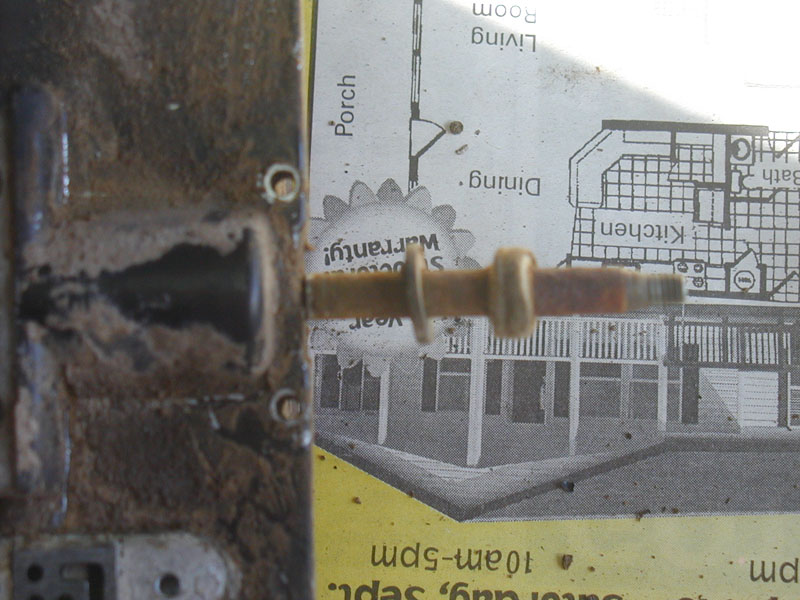
Remove the mechanism cover.
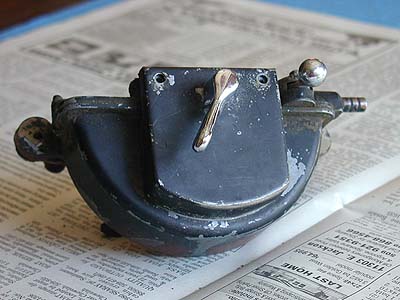
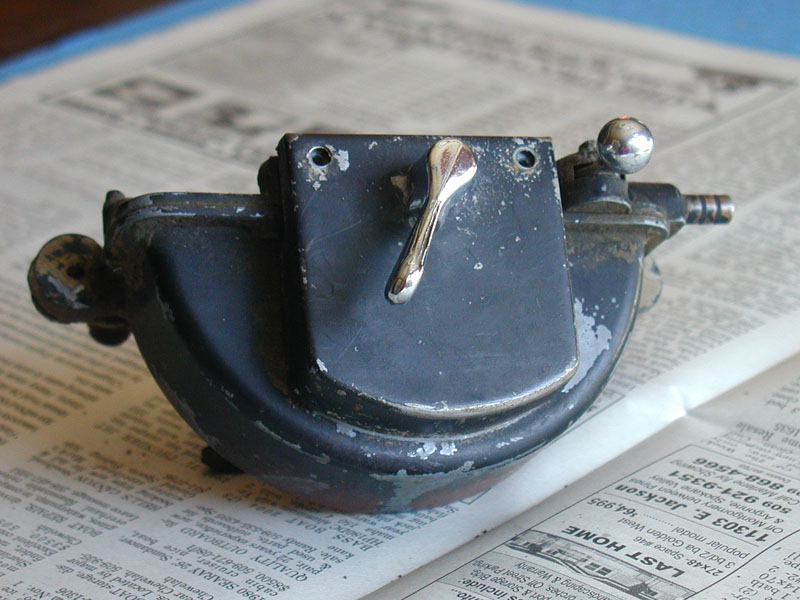
Handle is held fast with a pinned set screw.
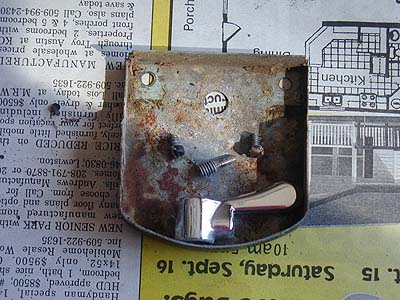
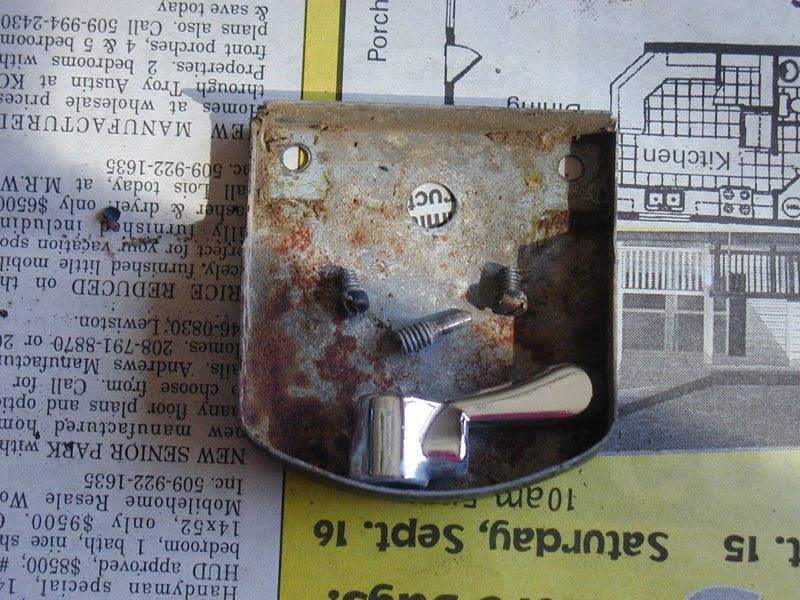
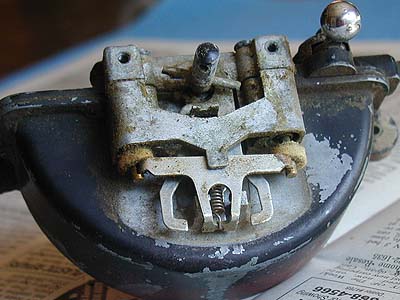
The working parts behind the cover.
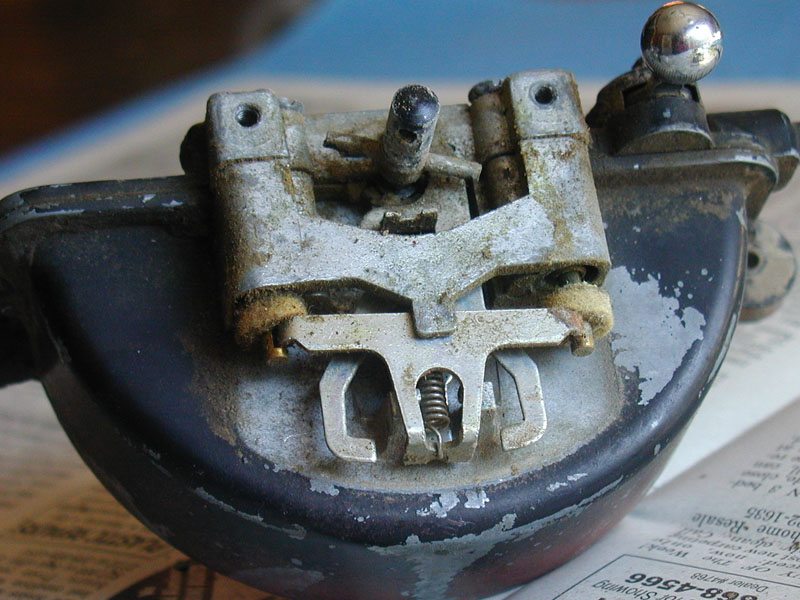
2 flat-head and 4 special screws hold the top cover to body.
2 special screws hold the on/off valve to top cover.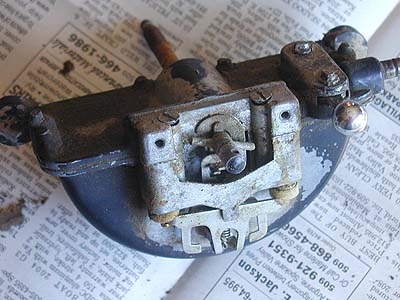
2 special screws hold the on/off valve to top cover.
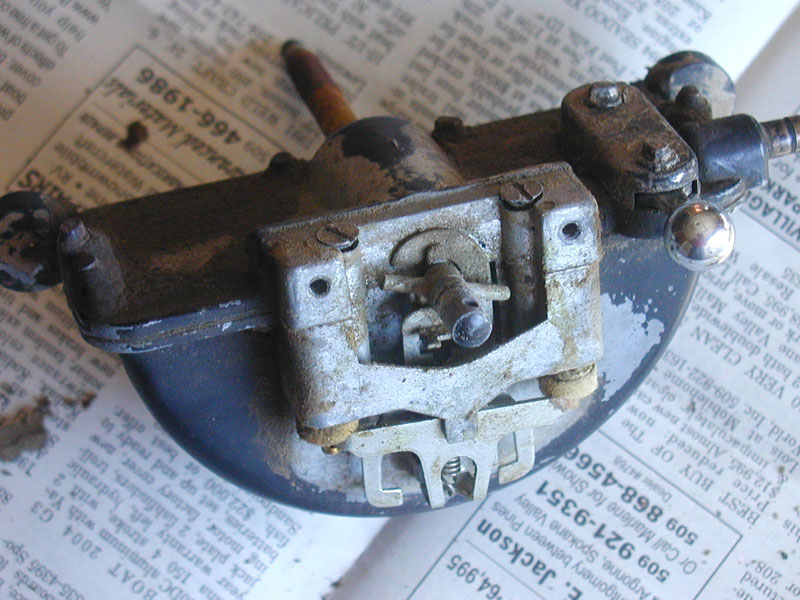
Remove the on/off valve screws & cover.
An arched spring sits on top of the valve plate.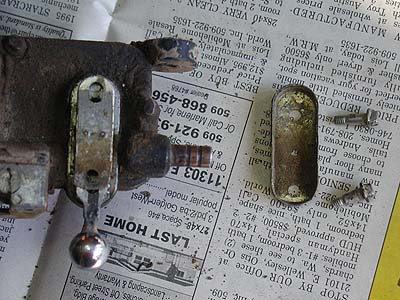
An arched spring sits on top of the valve plate.
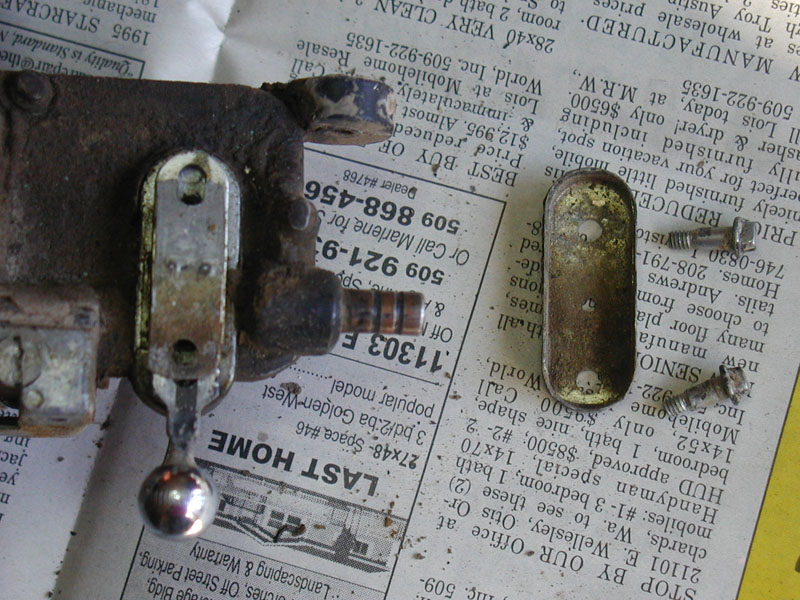
Take note of how the spring & valve plate are assembled.
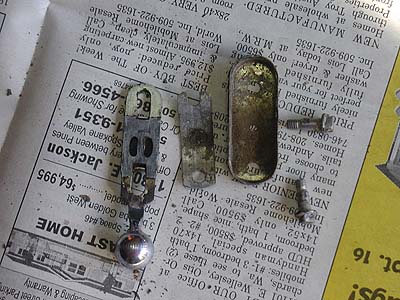
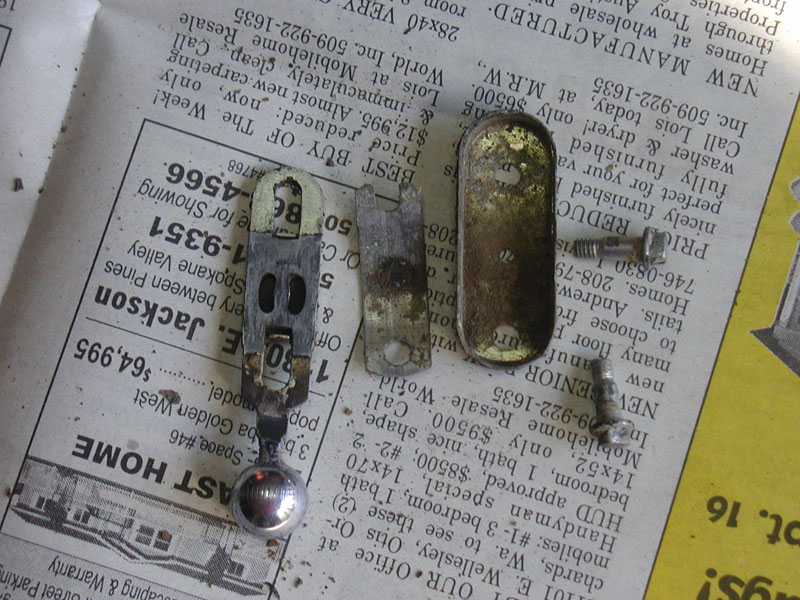
The valve passages in the top cover.
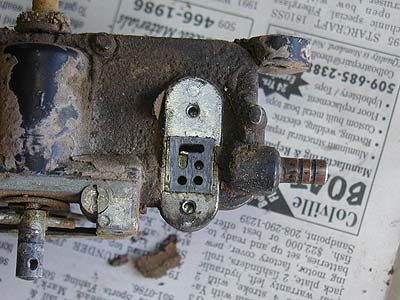
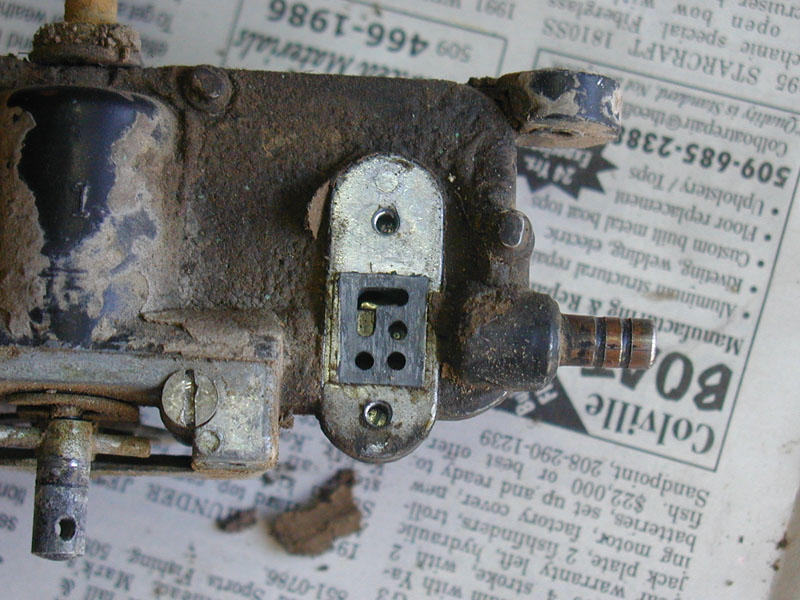
Remove the 4 special screws & 2 flat-head screws.
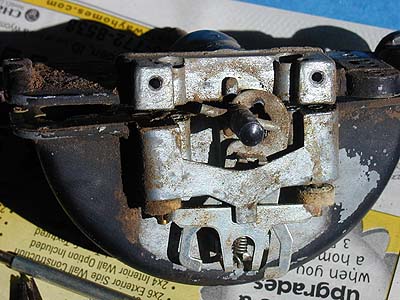
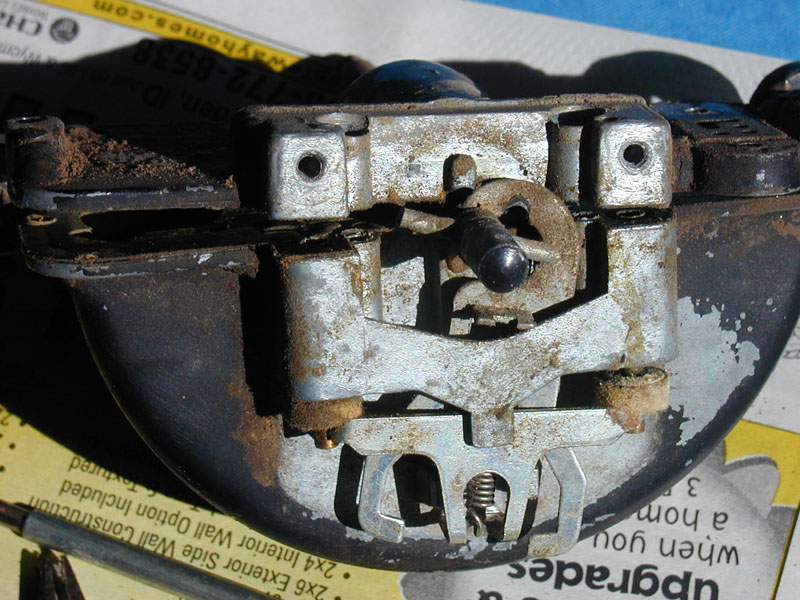
Lift the top cover off.
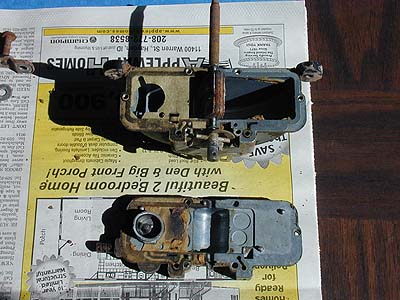
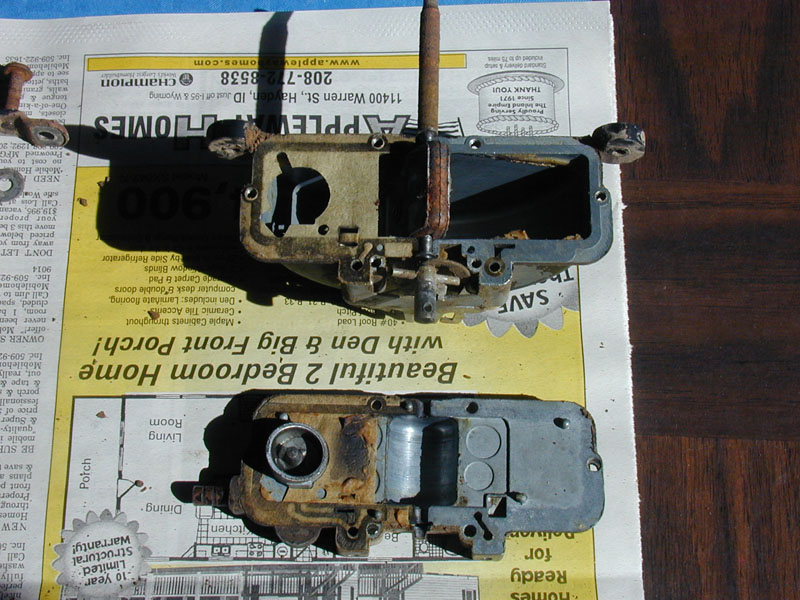
The 2 gaskets are identical. These might be re-useable.
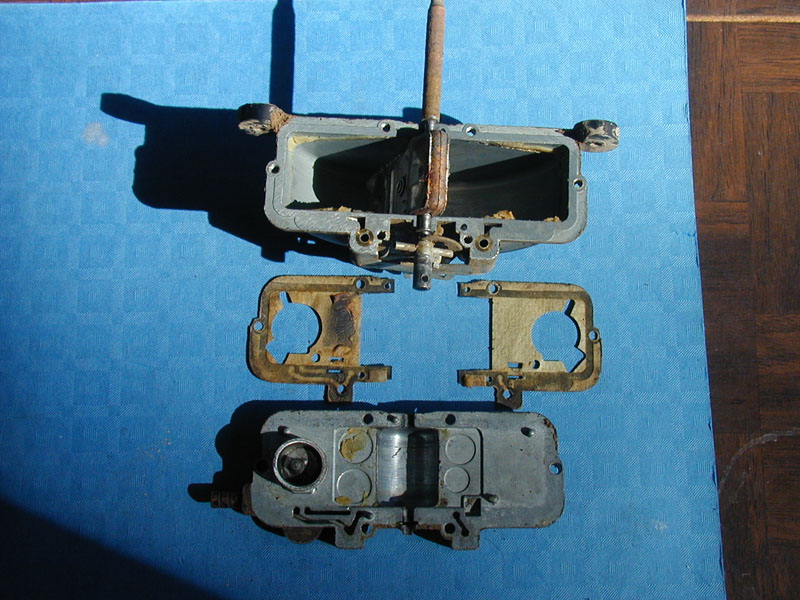
Pull the hooked bracket up & lift over the paddle shaft.
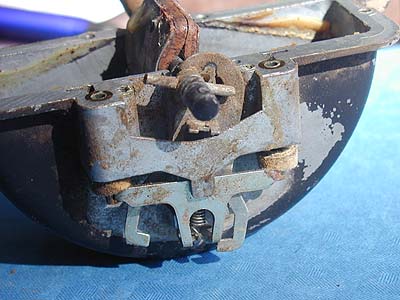
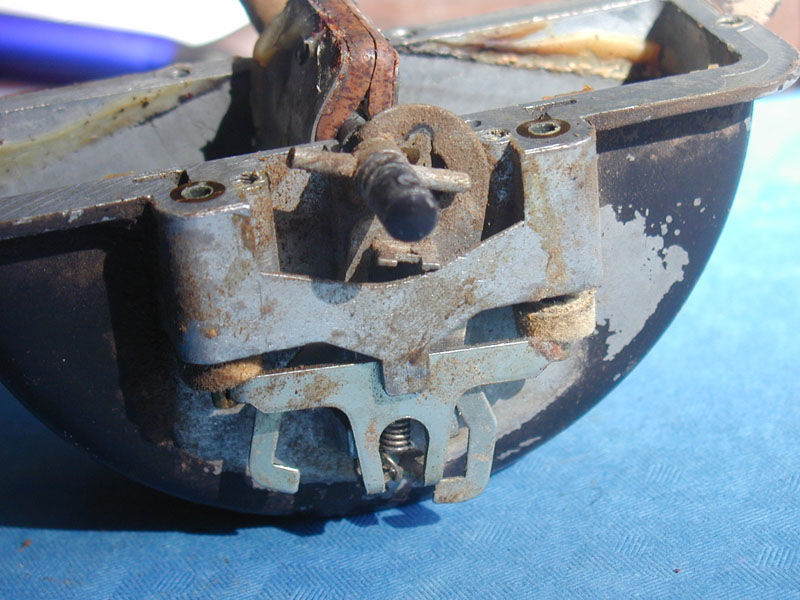
Lift the padde & shaft out.
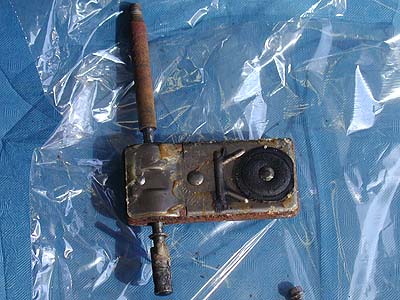
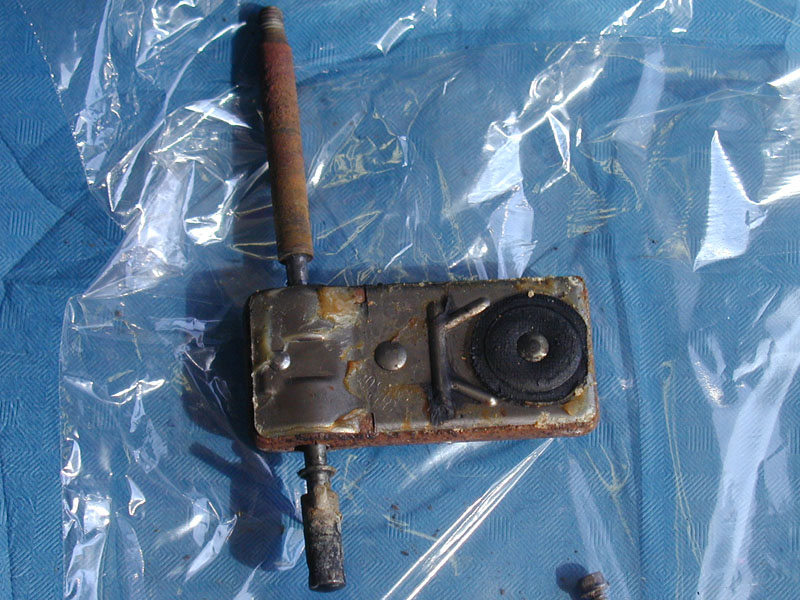
Unhook the tension spring from the lower rocker bracket.
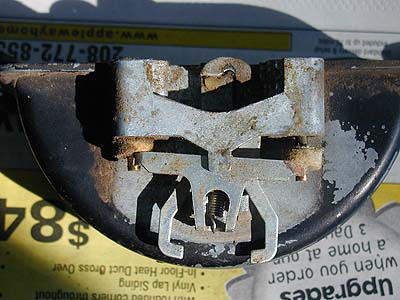
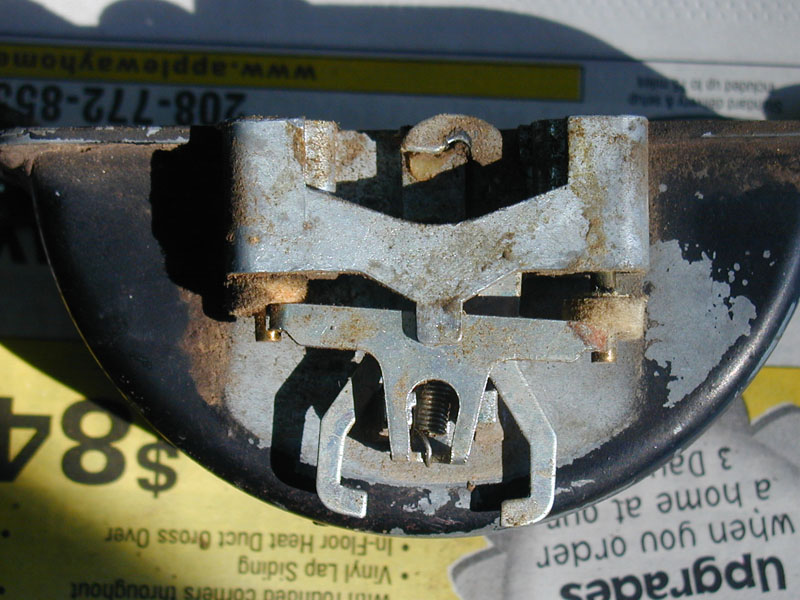
Upper bracket comes out upward.
Lower bracket comes out downward.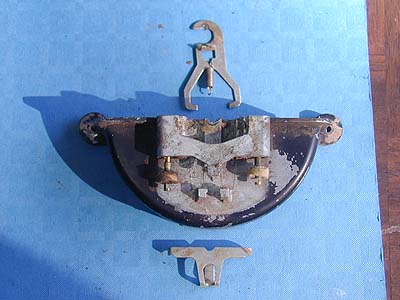
Lower bracket comes out downward.
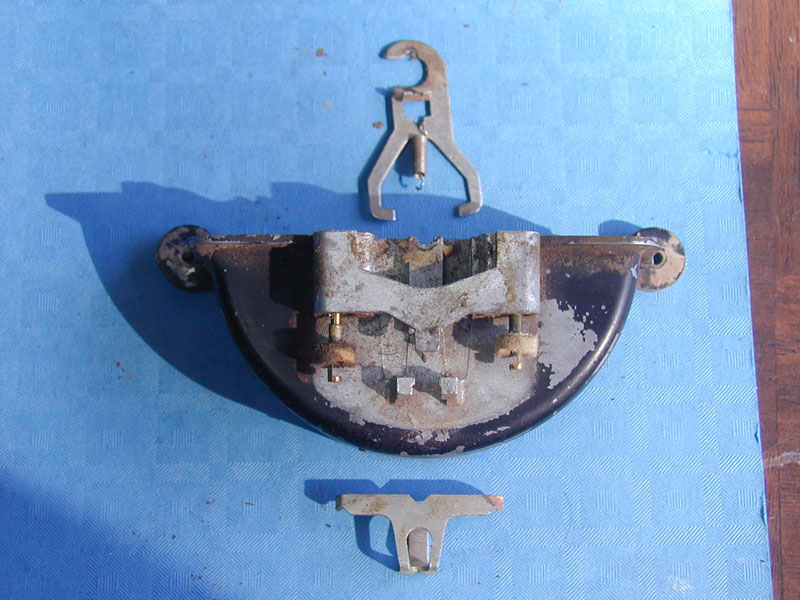
Pull the 2 brass valves out of their bores.
Keep the felt seals for re-use.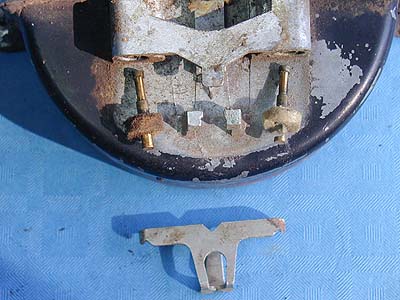
Keep the felt seals for re-use.
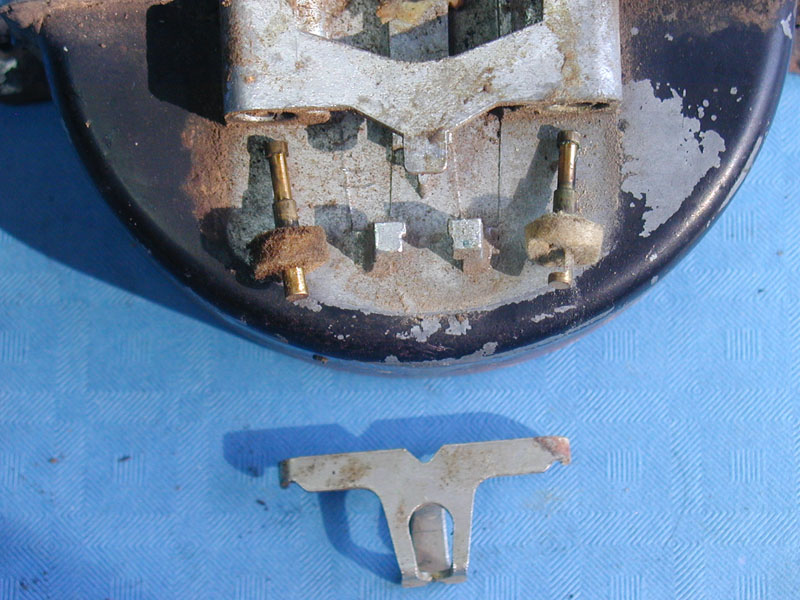
Check the valve bores for corrosion/wear, and snug valve fit.
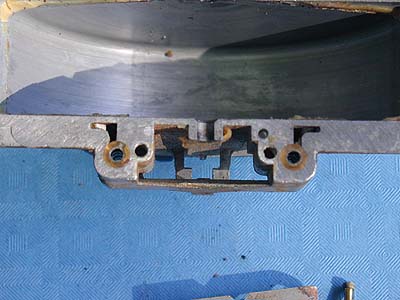
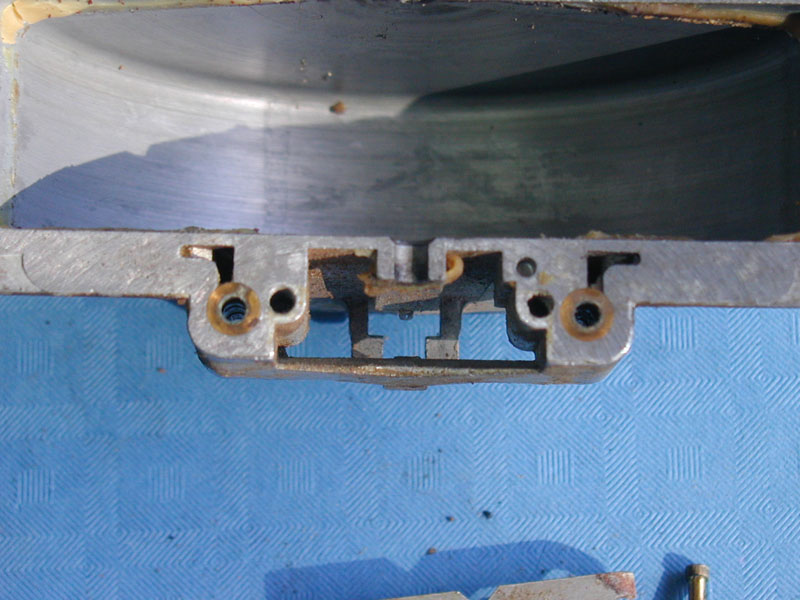
Everthing removed, ready for cleaning.